
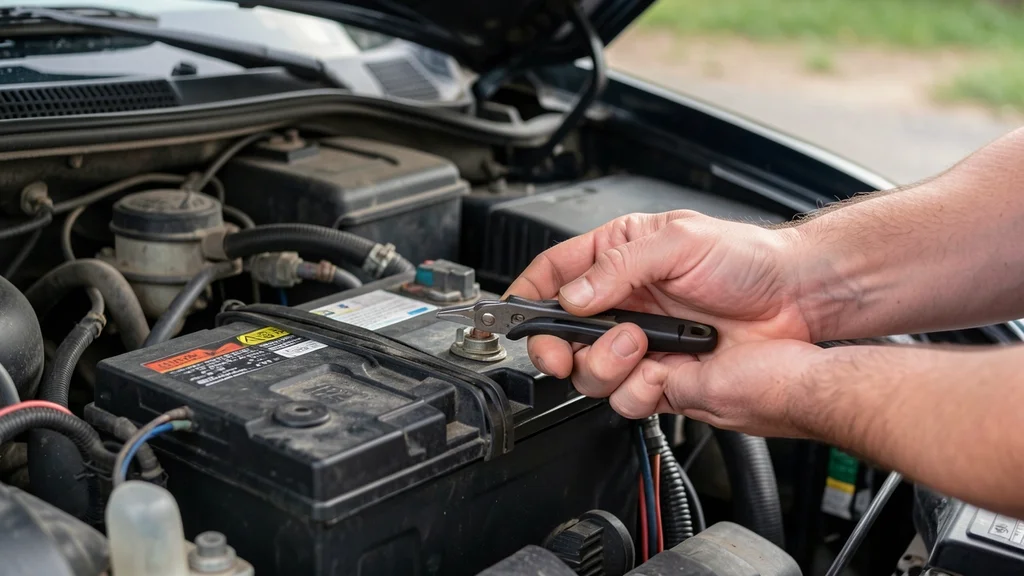
If your car’s electrical system is acting up, you might wonder can you disconnect the negative battery terminal to check alternator without causing damage. The alternator is crucial for charging the battery and powering your vehicle’s electronics, so testing it correctly is essential. Disconnecting the battery terminal is a common diagnostic step, but doing it wrong can lead to electrical issues or even damage to your car’s computer.
This guide walks you through the process safely and effectively.
Yes you can disconnect the negative battery terminal to check the alternator but only if the engine is running and you follow the correct steps to avoid damaging your car’s electrical system.
Why Disconnecting the Negative Terminal Tests the Alternator
The alternator’s job is to keep your battery charged while the engine runs. If it fails, your car relies solely on the battery, which will eventually drain. Disconnecting the negative terminal while the engine is running forces the alternator to power everything alone.
If the car keeps running smoothly, your alternator is working. If the engine stalls or the lights dim, it’s a sign the alternator isn’t doing its job. This method is quick but must be done carefully to avoid electrical spikes or damage to sensitive components like the ECU.
- Alternator function: Charges the battery and powers electrical systems while driving
- Battery role: Provides initial power to start the car and stabilizes voltage
- Disconnection effect: Removes the battery from the circuit, testing if the alternator can sustain the car alone
- Expected outcome: Steady engine operation means a healthy alternator
- Warning sign: Engine stalls or flickering lights indicate alternator failure
Warning: Never disconnect the positive terminal first—this can cause dangerous electrical arcing. Also, avoid this test on modern cars with sensitive electronics unless absolutely necessary.
What You Need for the Test
Before you start, gather the right tools to ensure safety and accuracy. You don’t need expensive equipment, but having the basics will make the process smoother and reduce the risk of mistakes.
A standard wrench (usually 10mm or 13mm) is enough to loosen the terminal. If you want to verify voltage levels, a multimeter is highly recommended. Safety gloves and eye protection are also wise, as you’ll be working near the battery and electrical connections.
| Tool | Purpose |
|---|---|
| 10mm or 13mm wrench | Loosen and tighten the battery terminal |
| Multimeter | Measure voltage before and after disconnection |
| Safety gloves | Protect hands from electrical contact |
| Safety goggles | Shield eyes from potential sparks |
| Battery cleaner | Clean corrosion from terminals for better contact |
According to AAA, nearly 30% of vehicle breakdowns are due to battery or alternator issues, making these tools worthwhile investments for any driver.
Step by Step How to Disconnect the Negative Terminal to Test the Alternator
This test should take less than 10 minutes if done correctly. Follow each step carefully to avoid mistakes that could damage your vehicle or leave you stranded.
Step 1: Park Safely and Prepare the Car
Park on a flat, stable surface and engage the parking brake. Turn off all electrical accessories, including the radio, headlights, and air conditioning. This ensures no extra load is placed on the electrical system during the test.
Open the hood and locate the battery. The negative terminal is usually marked with a minus (-) sign and has a black cable.
Step 2: Start the Engine
Start your car and let it idle. This step is critical because the alternator only charges the battery when the engine is running. If you disconnect the terminal with the engine off, you won’t be testing the alternator at all.
Let the engine run for a minute or two to stabilize. Listen for any unusual noises from the alternator, such as grinding or whining, which could indicate a failing bearing.
Step 3: Loosen the Negative Terminal
Use your wrench to loosen the nut on the negative terminal. Do not remove it completely—just loosen it enough so you can easily pull the terminal off by hand. This step is where most people make mistakes, so take your time.
Important: If the terminal is corroded, clean it with a battery cleaner or a mixture of baking soda and water before proceeding.
Step 4: Disconnect the Negative Terminal
With the engine still running, carefully pull the negative terminal off the battery post. Be prepared for a small spark—this is normal. If the car stalls immediately, your alternator is not functioning properly.
If the car continues running, observe the headlights and dashboard lights. Dim or flickering lights are a clear sign the alternator is struggling to maintain power.
Step 5: Reconnect the Terminal
If the engine stays running and the lights remain steady, the alternator is likely in good condition. Reconnect the negative terminal and tighten the nut securely. Turn off the engine and check for any warning lights on the dashboard.
If the engine stalled during the test, reconnect the terminal immediately and consider having your alternator professionally tested or replaced.
Step 6: Verify with a Multimeter (Optional)
For a more precise diagnosis, use a multimeter to check the voltage across the battery terminals with the engine running. A healthy alternator should produce between 13.8 and 14.4 volts. Anything below 13 volts indicates a problem.
To test, set the multimeter to DC voltage, connect the red probe to the positive terminal and the black probe to the negative terminal, and read the display.
| Voltage Reading | Alternator Condition |
|---|---|
| 12.6V or below | Battery only (engine off or alternator not charging) |
| 12.6V – 13.7V | Weak alternator or poor connection |
| 13.8V – 14.4V | Healthy alternator |
| 14.5V or above | Overcharging (faulty voltage regulator) |
Common Mistakes to Avoid When Testing Your Alternator
Even a small error during this test can lead to misleading results or even damage to your car. Here are the most common pitfalls and how to steer clear of them.
- Disconnecting the positive terminal first: This can cause dangerous electrical arcing, potentially damaging your car’s electrical system or even causing a fire. Always start with the negative terminal.
- Testing with the engine off: The alternator only works when the engine is running. Testing with the engine off will only tell you about the battery’s charge, not the alternator’s function.
- Ignoring safety precautions: Battery acid is corrosive, and the electrical system can deliver a shock. Always wear gloves and eye protection, and ensure the area is well-ventilated.
- Not checking for corrosion: Corroded terminals can give false readings. Clean the terminals before testing to ensure an accurate result.
- Forgetting to reconnect the terminal: It sounds obvious, but it’s easy to get distracted. Always reconnect the terminal securely after testing to avoid draining the battery or causing electrical issues.
- Using the wrong tools: A poorly fitted wrench can slip and cause damage to the terminal or battery post. Use the correct size wrench for your battery terminals.
- Testing on a nearly dead battery: If the battery is already very low, the alternator may struggle to keep up, leading to a false negative. Charge the battery first if it’s below 12.4 volts.
Tip: If you’re unsure about performing this test yourself, consider visiting an auto parts store. Many offer free alternator and battery testing with specialized equipment.
Signs Your Alternator Is Failing
Sometimes, you don’t need to disconnect the battery to know there’s a problem. Watching for these warning signs can help you catch alternator issues early and avoid being stranded with a dead battery.
The most obvious sign is dim or flickering headlights, especially when the engine is idling. The alternator powers the lights when the car is running, so any inconsistency in brightness is a red flag. Another common sign is a battery warning light on the dashboard, which can indicate either a battery or alternator issue.
- Dim or flickering headlights: The alternator struggles to power the lights, especially at low RPMs.
- Battery warning light: This could mean the alternator isn’t charging the battery properly.
- Weak or slow cranking: If the engine turns over slowly when starting, the battery may not be getting enough charge.
- Electrical failures: Malfunctioning power windows, seats, or dashboard lights can signal alternator trouble.
- Dead battery: If your battery dies frequently, even after jumps or replacements, the alternator may not be keeping it charged.
- Whining or grinding noises: A failing alternator bearing can produce unusual noises from under the hood.
- Smell of burning rubber or wires: Overheating alternator components can emit a distinct odor, indicating internal damage.
| Symptom | Likely Cause | Severity |
|---|---|---|
| Dim headlights | Alternator not producing enough power | Moderate |
| Battery warning light | Low voltage from alternator | High |
| Slow cranking | Weak battery due to poor charging | High |
| Electrical failures | Insufficient power from alternator | Moderate |
| Whining noise | Failing alternator bearing | High |
According to a study by the Car Care Council, alternator failure is one of the top 10 most common vehicle issues, with an estimated 4% of all breakdowns attributed to alternator problems.
Alternative Ways to Test the Alternator
If you’re uncomfortable disconnecting the battery terminal, there are other ways to check your alternator’s health. These methods are just as effective and sometimes safer for your car’s electrical system.
Using a Multimeter
A multimeter is the most accurate tool for testing an alternator. With the engine off, check the battery voltage—it should be around 12.6 volts. Then start the engine and check again.
A healthy alternator should show 13.8 to 14.4 volts. If the voltage drops below 13, the alternator may be failing.
Load Test at an Auto Parts Store
Many auto parts stores, like AutoZone or O’Reilly Auto Parts, offer free alternator testing. They use specialized equipment to perform a load test, which checks how well the alternator performs under demand. This is often the most reliable method, as it provides a detailed report of the alternator’s condition.
Visual Inspection
Pop the hood and look at the alternator for any visible signs of damage. Check for frayed wires, loose connections, or corrosion on the terminals. Also, inspect the alternator belt for cracks or wear.
A loose or damaged belt can prevent the alternator from spinning properly.
Listen for Unusual Noises
Turn off the radio and listen for any unusual noises coming from the engine bay. A failing alternator often produces a whining or grinding sound, which indicates a worn bearing or other internal issues.
Check the Dashboard Warning Lights
Modern cars have sophisticated onboard diagnostics. If the battery or charging system warning light appears on your dashboard, it’s a strong indication of an alternator issue. Some vehicles even have specific alternator warning lights.
Important: If your car has a voltage gauge on the dashboard, monitor it while driving. A reading below 13 volts or above 15 volts suggests an alternator problem.
When to Replace Your Alternator
If your tests confirm the alternator is failing, it’s important to replace it as soon as possible. Driving with a bad alternator can lead to a dead battery, leaving you stranded. It can also cause damage to other electrical components, as they may not receive a steady power supply.
The lifespan of an alternator varies, but most last between 80,000 and 150,000 miles, or about 7-10 years. If yours is approaching this range or showing signs of wear, it’s wise to replace it preventatively. Replacement costs vary, but expect to pay between $400 and $1,000, including parts and labor.
- Age: Alternators typically last 7-10 years or 80,000-150,000 miles.
- Warning signs: Frequent battery failures, electrical issues, or unusual noises.
- Cost: Replacement costs range from $400 to $1,000, depending on the vehicle.
- DIY vs. Professional: While DIY replacement is possible, it’s often best left to professionals due to the complexity of modern electrical systems.
- Warranty: Many alternators come with a 1-2 year warranty, so check if yours is still covered.
| Factor | Details |
|---|---|
| Labor cost | $200 – $500 |
| Part cost | $200 – $500 |
| Total estimated cost | $400 – $1,000 |
| Time required | 1 – 2 hours |
Frequently Asked Questions
Is it safe to disconnect the negative battery terminal while the car is running?
Yes, it is generally safe to disconnect the negative battery terminal while the car is running, as long as you do it carefully. However, avoid this test on modern cars with sensitive electronics, as it can sometimes cause electrical issues. Always reconnect the terminal as soon as the test is complete.
What happens if I disconnect the positive terminal instead?
Disconnecting the positive terminal first can cause dangerous electrical arcing, which may damage your car’s electrical system or even start a fire. Always disconnect the negative terminal first to minimize risk.
Can a bad alternator ruin a new battery?
Yes, a failing alternator can quickly drain and ruin a new battery. The alternator is responsible for charging the battery while the car is running. If it’s not working, the battery will eventually drain completely, even if it’s brand new.
How long can a car run on battery only?
Without a functioning alternator, your car can typically run for about 30 minutes to an hour on battery power alone, depending on the battery’s condition and the electrical load. After that, the battery will drain, and the car will stall.
Will disconnecting the battery reset the car’s computer?
Disconnecting the battery can sometimes reset the car’s computer, erasing stored data like radio presets, clock settings, and learned engine parameters. In some cases, it may also trigger a check engine light until the system relearns its settings. However, this is usually temporary and not harmful.
Final Thoughts
Disconnecting the negative battery terminal to check the alternator is a quick and effective way to diagnose issues with your car’s charging system. If the engine keeps running, your alternator is likely in good shape. If it stalls, it’s time for a replacement.
Always prioritize safety, and consider using a multimeter or professional testing for a more accurate diagnosis. Catching alternator problems early can save you from costly repairs and inconvenient breakdowns.
Leave a Reply