
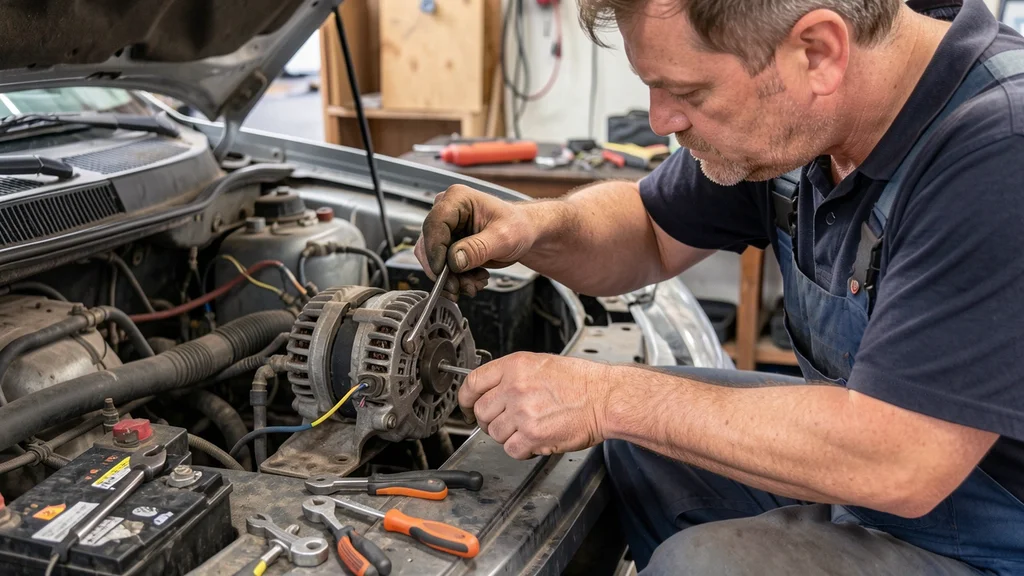
Replacing a car alternator yourself is a challenging but doable task if you have basic mechanical skills and the right tools. Can you replace an car alternator yourself depends on your comfort level with automotive repairs, as it involves disconnecting the battery, removing belts, and handling electrical connections. This guide will walk you through the entire process, from diagnosing a failing alternator to safely installing a new one.
Yes you can replace a car alternator yourself with the right tools and precautions. The process takes 1-3 hours for beginners and requires disconnecting the battery, removing the serpentine belt, and uninstalling the old alternator before installing the new one.
Signs Your Alternator Needs Replacement
Your car’s alternator is responsible for charging the battery and powering the electrical system while the engine runs. When it starts to fail, you’ll notice several warning signs that shouldn’t be ignored.
The most common symptom is a battery warning light on your dashboard. This doesn’t always mean the battery itself is dead—it often indicates the alternator isn’t charging it properly. You might also notice dim or flickering headlights, especially at idle, as the alternator struggles to maintain consistent electrical output.
Other red flags include:
- Electrical accessories (radio, power windows) working intermittently
- Engine stalling or difficulty starting
- Burning rubber smell from slipping serpentine belt
- Whining or grinding noises from the alternator
- Dead battery that keeps dying even after jumps or replacements
- Voltage gauge reading below 13.5V with engine running
- Clicking noises when turning the ignition
Warning: Driving with a failing alternator can leave you stranded as the battery drains completely. If you notice multiple warning signs, address the issue immediately.
Tools and Materials You Will Need
Before starting, gather all necessary tools and parts. Having everything on hand prevents delays and frustration mid-repair. The exact tools may vary slightly depending on your vehicle’s make and model, but this list covers the essentials.
Start with safety equipment: gloves and safety glasses are non-negotiable when working under the hood. For the actual replacement, you’ll need a socket set with extensions, combination wrenches, and a breaker bar for stubborn bolts. A serpentine belt diagram for your specific vehicle is crucial—many cars have this printed on a sticker under the hood.
| Tool/Material | Purpose |
|---|---|
| Socket set (10mm-15mm) | Removing alternator bolts |
| Breaker bar | Loosening tight bolts |
| Serpentine belt diagram | Proper belt routing |
| New alternator | Replacement part |
| Battery terminal cleaner | Cleaning corrosion |
| Torque wrench | Proper bolt tightening |
| Jack and jack stands | Safety support (for some vehicles) |
According to AutoZone, about 70% of alternator replacements can be completed with basic hand tools, though some European models may require specialized tools. Always check your vehicle’s service manual for specific requirements.
Preparation Steps Before Starting
Proper preparation prevents accidents and makes the job easier. The most critical step is disconnecting the battery—this prevents electrical shorts and protects your car’s computer systems from voltage spikes.
Start by parking on a flat, stable surface and engaging the parking brake. If you’re working in a garage, ensure proper ventilation. Pop the hood and locate the battery.
In most vehicles, the negative terminal is black and marked with a minus sign. Always disconnect the negative terminal first using a wrench, then the positive terminal. Secure the disconnected cables away from the battery posts to prevent accidental reconnection.
- Disconnect the battery – Negative terminal first, then positive
- Release belt tension – Use a breaker bar on the tensioner pulley
- Take photos – Document belt routing and electrical connections
- Clear workspace – Remove any obstacles around the alternator
- Check pulley rotation – Ensure the new alternator pulley matches the old one
- Inspect mounting brackets – Look for rust or damage that might need attention
Important: Some vehicles have the alternator on the passenger side near the firewall, requiring removal of the wheel and inner fender for access. Check your service manual for your specific vehicle layout.
Step by Step Alternator Removal Process
With preparations complete, you can begin removing the old alternator. The exact steps vary by vehicle, but the general process remains consistent across most models. Patience is key—rushing can lead to stripped bolts or damaged components.
The serpentine belt usually needs to come off first. Locate the tensioner pulley (often a square hole for a breaker bar) and rotate it to release tension on the belt. Slide the belt off the alternator pulley.
Some vehicles have a separate alternator belt, which simplifies this step. Once the belt is off, you’ll have better access to the alternator itself.
Removing Electrical Connections
Alternators typically have two main electrical connections: the battery cable (large, usually with a nut) and the wiring harness connector (smaller, may have a clip or bolt). Start by removing the wiring harness connector—this often has a release tab you’ll need to press. Then remove the battery cable nut and disconnect the cable.
Some vehicles have a third ground wire that also needs disconnecting.
Unbolting the Alternator
Alternators are usually secured by two or three bolts. The exact number and location vary by vehicle. Common configurations include:
- One long bolt through the alternator into the engine block
- Two shorter bolts on mounting brackets
- A combination of top and bottom bolts
- Some GM vehicles use a single bolt with a long stud
Use the appropriate socket size (commonly 13mm, 14mm, or 15mm) and extensions to reach the bolts. A breaker bar may be necessary for the initial loosening. Once all bolts are removed, the alternator should come free.
It may be heavy, so support it as you remove the last bolt.
Final Removal Checks
Before completely removing the alternator:
- Double-check that all electrical connections are disconnected
- Ensure all mounting bolts are fully removed
- Verify the serpentine belt is completely off the pulley
- Check for any additional brackets or hoses attached
- Note the position of any spacers or washers for reinstallation
Installing the New Alternator
Installing the new alternator is essentially the reverse of removal, but with some critical checks along the way. The most important rule is to never force anything—if a bolt won’t thread easily by hand, there may be a misalignment or incorrect part.
Start by comparing the new alternator to the old one. Check that the pulley size and shape match exactly. Some vehicles require specific pulley configurations.
Also verify the electrical connections match—the battery cable stud should be in the same position, and the wiring harness connector should align properly.
Mounting the New Unit
Position the new alternator in place, aligning it with the mounting points. Start threading the bolts by hand to ensure proper alignment. This prevents cross-threading, which can damage the engine block or alternator housing.
Once all bolts are started by hand, you can tighten them with tools.
Tighten the bolts in a star pattern if there are multiple bolts, similar to how you’d tighten luggage nuts. This ensures even pressure distribution. Refer to your vehicle’s service manual for specific torque specifications.
As a general guideline:
| Bolt Type | Typical Torque |
|---|---|
| Main mounting bolt | 35-45 ft-lbs |
| Bracket bolts | 25-35 ft-lbs |
| Adjustment bolt | 20-30 ft-lbs |
Reconnecting Electrical Components
With the alternator securely mounted, reconnect the electrical components. Start with the battery cable, tightening the nut securely. Then reconnect the wiring harness connector—you should hear or feel it click into place.
If your vehicle has a separate ground wire, reconnect that last.
Before reinstalling the serpentine belt:
- Double-check all electrical connections are secure
- Verify the alternator pulley spins freely by hand
- Ensure no tools or debris are near the pulley
- Confirm the belt tensioner is in its relaxed position
- Have your serpentine belt diagram handy
Belt Reinstallation
Reinstalling the serpentine belt can be tricky. Use your belt diagram to route it correctly around all pulleys. The belt should have the ribbed side facing the pulleys that have grooves.
Start by placing the belt on all pulleys except the tensioner, then use your breaker bar to rotate the tensioner pulley and slide the belt into place. Release the tensioner slowly to apply tension to the belt.
Tip: If the belt keeps slipping off during installation, check that you haven’t accidentally twisted it. A twisted belt won’t seat properly in the pulleys.
Testing the New Alternator
After installation, testing ensures everything works correctly before you consider the job done. The most basic test is simply starting the car and checking for warning lights, but there are more thorough checks you should perform.
Reconnect the battery terminals (positive first, then negative) and start the vehicle. The battery warning light should turn off once the engine is running. With the engine at idle, turn on the headlights and heater blower—these create a significant electrical load.
The headlights should remain bright and steady, not dim or flickering.
Voltage Testing
For a more precise check, use a multimeter to test the charging system:
- Set your multimeter to DC voltage (20V range)
- With the engine off, connect the probes to the battery terminals
- Note the resting voltage (should be 12.2-12.6V for a healthy battery)
- Start the engine and check the voltage again
- At idle, voltage should read 13.8-14.4V
- Revs the engine to 2000 RPM—voltage should increase slightly but stay under 14.7V
| Reading | Meaning |
|---|---|
| <13.5V at idle | Alternator not charging properly |
| 13.8-14.4V at idle | Normal charging range |
| >14.7V at any RPM | Overcharging (faulty voltage regulator) |
| Voltage drops when accessories are on | Insufficient charging capacity |
According to AAA, about 25% of vehicles brought in for alternator issues actually have battery or connection problems. Always verify the battery health before condemning the alternator.
Load Testing
For the most thorough check, perform a load test:
- With the engine running at idle, turn on all electrical accessories (headlights, heater, radio, etc.)
- Check the voltage at the battery—it should stay above 13.5V
- If voltage drops below 13V, the alternator may not have sufficient capacity
- Some auto parts stores will perform a free load test if you’re unsure
If all tests pass, take the car for a short drive to ensure the alternator performs under real-world conditions. Pay attention to any warning lights or unusual noises.
Common Mistakes to Avoid
Even experienced DIYers can make mistakes during alternator replacement. Being aware of these common pitfalls can save you time, money, and potential damage to your vehicle.
The most frequent mistake is not disconnecting the battery before starting work. This can cause electrical shorts that damage sensitive electronics. Another common error is forcing bolts when they don’t align properly, which can strip threads or break bolts.
Always ensure proper alignment before applying force.
Electrical Connection Errors
- Reconnecting the battery too soon – Always complete all work before reconnecting
- Mixing up positive and negative connections – Double-check before connecting
- Not cleaning corroded terminals – Corrosion can prevent proper electrical contact
- Over-tightening electrical connections – Can strip the studs or damage the alternator housing
- Forgetting to reconnect ground wires – Essential for proper alternator function
Mechanical Installation Mistakes
- Using wrong bolt sizes – Always verify bolt sizes for your specific vehicle
- Not checking pulley alignment – Misalignment causes premature belt wear
- Forgetting spacers or washers – Can lead to improper alternator positioning
- Over-tightening mounting bolts – Can crack the alternator housing or strip engine threads
- Installing the wrong alternator – Verify part numbers match exactly
Belt-Related Issues
- Incorrect belt routing – Always use a diagram specific to your vehicle
- Twisted belt – Won’t seat properly and will wear prematurely
- Improper tension – Too loose causes slippage, too tight strains the alternator bearing
- Using a worn belt – Replace the serpentine belt if it shows signs of wear or age
- Not checking all pulleys – Worn pulleys can cause belt failure even with a new alternator
Warning: Never use an impact wrench on alternator bolts unless specified in the service manual. The vibrations can damage the alternator’s internal components.
When to Call a Professional
While many alternator replacements are within the scope of a DIYer, there are situations where professional help is advisable. Knowing your limits prevents costly mistakes and ensures your safety.
If your vehicle has a particularly inaccessible alternator location (some are buried deep in the engine bay), the job may require specialized tools or engine component removal that’s beyond basic DIY. Additionally, if you’re not comfortable working with electrical systems or don’t have the necessary tools, it’s better to leave it to professionals.
Signs You Should Seek Help
- Alternator is in a very tight space – Some vehicles require removing the engine mount or other major components
- You lack the necessary tools – Specialized pullers or adapters may be needed
- Electrical issues persist after replacement – Could indicate wiring or computer system problems
- Vehicle has complex electronics – Modern cars with sensitive computers may need professional handling
- You’re unsure about any step – Better to ask for help than risk damaging your vehicle
Cost Considerations
While DIY saves on labor costs, consider the full
| Option | Cost Range | Time Required |
|---|---|---|
| DIY Replacement | $150-$400 (parts only) | 1-3 hours |
| Professional Replacement | $350-$800 (parts + labor) | 1-2 hours |
| Dealership Replacement | $500-$1200 (parts + labor) | 1-2 hours |
According to RepairPal, the average cost for professional alternator replacement is between $550 and $700, with parts accounting for about 60% of that cost. DIY can save you $200-$400 in labor charges.
Frequently Asked Questions
How long does it take to replace an alternator yourself?
For a beginner, alternator replacement typically takes 1-3 hours. The exact time depends on your vehicle’s design and your experience level. Simple front-wheel-drive cars may take as little as 45 minutes, while vehicles with tight engine bays or complex belt systems can take several hours.
Having all tools ready and following a guide can significantly reduce the time.
Can I drive with a bad alternator?
You can drive with a failing alternator for a short distance, but it’s not recommended. The battery will eventually drain completely, leaving you stranded. If the alternator fails completely, you typically have about 30 minutes to an hour of driving time before the battery dies.
It’s much safer to address the issue immediately.
Do I need to replace the serpentine belt when replacing the alternator?
It’s not mandatory, but it’s highly recommended. The serpentine belt often wears out around the same time as the alternator. Since you’ll have the belt off during the replacement, it’s a good opportunity to install a new one.
A worn belt can cause premature failure of the new alternator and other accessories.
How do I know if my alternator or battery is bad?
The simplest way is to perform a voltage test. With the engine off, a healthy battery should read 12.2-12.6V. When the engine is running, voltage should increase to 13.8-14.4V.
If voltage doesn’t increase with the engine running, the alternator is likely bad. If voltage is low both with the engine off and on, the battery may be the issue.
What happens if I connect the alternator wrong?
Connecting the alternator incorrectly can cause serious damage. Reversing the polarity (connecting positive to negative and vice versa) can immediately damage the alternator’s diodes and potentially other electrical components. Always double-check connections before reconnecting the battery.
If you’re unsure, consult a wiring diagram for your specific vehicle.
Final Thoughts
Replacing a car alternator yourself is a rewarding project that can save you significant money on labor costs. With the right tools, patience, and attention to detail, most DIYers can complete this job successfully. Can you replace an car alternator yourself depends on your mechanical aptitude and your vehicle’s specific design, but the process is manageable for those willing to take their time and follow proper procedures.
Remember to always prioritize safety, take photos during disassembly, and don’t hesitate to seek professional help if you encounter difficulties. A properly installed alternator can last 7-10 years, making this a valuable skill for any car owner.
Leave a Reply