
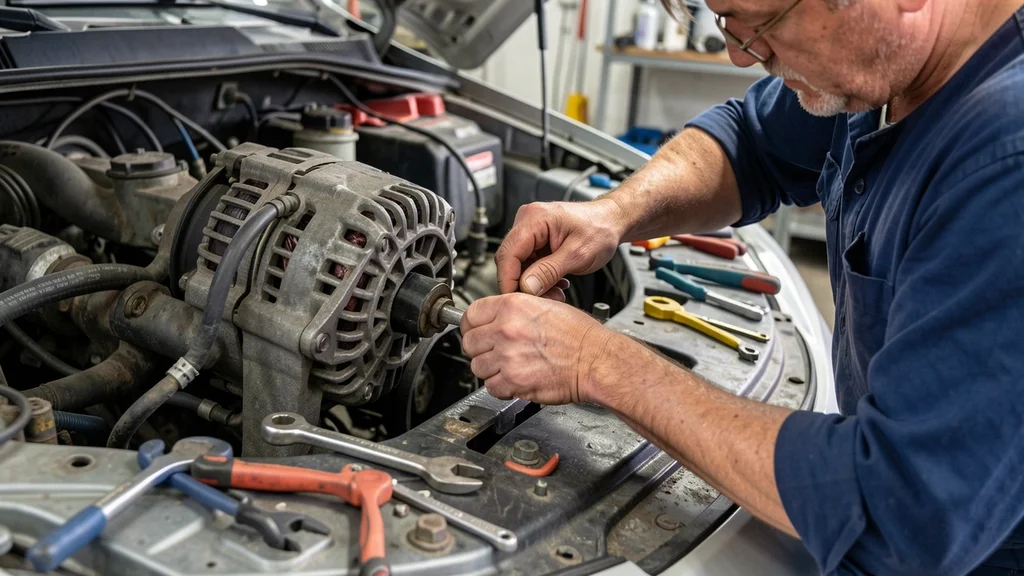
If your car’s battery light is on or you’re experiencing dim headlights, can you replace an alternator by yourself is likely a question on your mind. The good news is that with the right tools, a bit of patience, and some mechanical know-how, this is a task many DIYers can tackle. Replacing an alternator yourself can save you hundreds in labor costs, but it’s not without its challenges.
This guide will walk you through everything you need to know, from diagnosing the issue to safely swapping out the old unit for a new one.
Yes you can replace an alternator by yourself if you have basic tools and follow safety precautions. Most DIYers complete the job in 1-3 hours depending on the vehicle. Always disconnect the battery first and consult a repair manual for your specific car model.
Signs Your Alternator Needs Replacement
Before jumping into a replacement, confirm that the alternator is indeed the culprit. A failing alternator often shows several telltale signs that are hard to miss. The most common is the battery warning light on your dashboard, which typically looks like a battery symbol.
This light usually means the alternator isn’t charging the battery properly.
Other symptoms include dim or flickering headlights, especially when the engine is idling. You might also notice electrical accessories like power windows or the radio working intermittently or slower than usual. In severe cases, your car might stall or have difficulty starting, as the battery drains without being recharged.
- Battery warning light on the dashboard
- Dim or flickering headlights, especially at idle
- Electrical accessories (radio, power windows) working poorly
- Engine stalls or runs roughly
- Dead battery frequently, even after jumps
- Whining or grinding noises from the engine bay
- Burning smell near the alternator
Warning: If your car stalls while driving due to a dead alternator, pull over safely immediately. Driving without a functional alternator can cause the engine to die, leaving you stranded.
Tools and Materials You Will Need
Having the right tools on hand before you start is crucial for a smooth alternator replacement. The exact tools may vary slightly depending on your vehicle’s make and model, but this list covers the essentials for most jobs. Missing a single tool can turn a straightforward task into a frustrating ordeal.
Start with basic hand tools: a set of wrenches (both metric and standard), sockets, and ratchets. You’ll also need a breaker bar for stubborn bolts and various extensions to reach tight spots. A serpentine belt diagram for your specific car is invaluable, as you’ll need to remove and reinstall the belt during the process.
| Tool/Material | Purpose |
|---|---|
| Socket and ratchet set | Removing alternator bolts |
| Breaker bar | Loosening tight bolts |
| Serpentine belt diagram | Reinstalling the belt correctly |
| New alternator | Replacement unit |
| Battery terminal cleaner | Cleaning corrosion |
| Jack and jack stands | Accessing alternator from below |
| Torque wrench | Tightening bolts to spec |
Additionally, a battery terminal cleaner or wire brush will help remove any corrosion from the battery terminals and alternator connections. Safety gear is non-negotiable: wear gloves to protect your hands from sharp edges and battery acid, and safety glasses to shield your eyes from debris. If your alternator is mounted low in the engine bay, you may need a jack and jack stands to access it safely from underneath the vehicle.
Preparing Your Vehicle for Alternator Replacement
Safety and preparation are the foundation of a successful alternator replacement. Before you touch a single tool, ensure your vehicle is in a safe, stable environment. Park on a flat, level surface like a driveway or garage floor—never on a slope or uneven ground.
Engage the parking brake to prevent any accidental movement.
Disconnecting the battery is the next critical step. Always start with the negative (black) terminal to avoid short circuits, followed by the positive (red) terminal. This cuts off the electrical supply to the entire vehicle, protecting you from shocks and preventing damage to sensitive electronics.
According to the National Institute for Automotive Service Excellence (ASE), failing to disconnect the battery first is one of the most common mistakes DIYers make, often leading to electrical shorts or damage to the vehicle’s computer system.
- Park on level ground and engage the parking brake
- Let the engine cool completely if it was recently running
- Disconnect the negative battery terminal first, then the positive
- Secure the battery cables away from the terminals
- Locate the alternator (refer to your vehicle’s manual)
- Take photos of the wiring and belt configuration for reference
- Check for any additional components that may need removal (e.g., air intake, hoses)
Important: Some modern vehicles have sensitive electronics that can be damaged by sudden power loss. If your car has a complex electrical system, consider using a memory saver tool to preserve settings like radio presets and ECU data.
Step by Step Alternator Removal Process
Removing the old alternator requires patience and attention to detail. The process can vary slightly depending on your vehicle, but the general steps remain consistent. Start by locating the alternator—it’s typically mounted near the front of the engine and driven by the serpentine belt.
In most cars, it’s on the passenger side, but some models have it on the driver’s side or even at the bottom of the engine bay.
Begin by releasing the tension on the serpentine belt. Most vehicles use a spring-loaded tensioner pulley that you can rotate with a wrench or ratchet to slacken the belt. Once the tension is released, slide the belt off the alternator pulley.
If your car has an older V-belt system, you may need to loosen the alternator mounting bolts to create slack before removing the belt.
Detailed Removal Steps
- Release the serpentine belt tension using the tensioner pulley and slide the belt off the alternator pulley.
- Disconnect the electrical connections from the alternator. This usually includes a main power wire (often secured with a nut) and a smaller connector for the voltage regulator. Take note of where each wire goes.
- Remove the mounting bolts securing the alternator to the engine. There are typically two or three bolts, often of different lengths. Keep track of which bolt goes where.
- Carefully maneuver the alternator out of its mounting bracket. This may require some wiggling, especially in tight engine bays.
- Inspect the mounting area for any signs of damage or wear, such as cracked brackets or stripped threads.
| Potential Challenge | Solution |
|---|---|
| Stuck bolts | Apply penetrating oil (e.g., PB Blaster) and wait 10-15 minutes before retrying |
| Tight space | Use a universal joint socket or extensions to reach bolts in awkward positions |
| Corroded connections | Clean with a wire brush or terminal cleaner before disconnecting |
| Belt won’t come off | Double-check the tensioner direction; some vehicles require clockwise rotation, others counterclockwise |
If you encounter resistance while removing the alternator, double-check that all bolts and electrical connections are fully disconnected. Forcing the alternator out can damage the mounting brackets or the new unit during installation. According to a study by AAA, over 30% of DIY alternator replacements result in damage to the new alternator due to improper removal or installation techniques.
Installing the New Alternator
Installing the new alternator is essentially the reverse of the removal process, but there are a few key details to keep in mind to ensure everything goes smoothly. Start by comparing the new alternator to the old one to confirm they’re identical in terms of mounting points, electrical connectors, and pulley size. Even small differences can cause major issues down the line.
Position the new alternator in the mounting bracket and hand-tighten the bolts to ensure it’s aligned correctly. This step is crucial—misalignment can cause the serpentine belt to wear prematurely or even break. Once the alternator is seated properly, tighten the mounting bolts to the manufacturer’s specified torque.
Over-tightening can strip the threads, while under-tightening can cause the alternator to shift during operation.
Installation Checklist
- Compare new and old alternators for matching specifications
- Position the new alternator in the mounting bracket and hand-tighten bolts
- Reconnect electrical connections exactly as they were on the old alternator
- Reinstall the serpentine belt following the diagram for your vehicle
- Tighten mounting bolts to the manufacturer’s torque specifications
- Double-check all connections for security before reconnecting the battery
- Test the alternator before fully reassembling the engine bay
Tip: Apply a small amount of dielectric grease to the electrical connections before reconnecting them. This helps prevent corrosion and ensures a solid connection.
Reconnecting the serpentine belt can be tricky, especially if your vehicle has a complex routing path. Refer to the diagram you took earlier or consult your vehicle’s service manual. Once the belt is in place, apply tension to the tensioner pulley to tighten it.
Most tensioners have a square hole for a ratchet or a bolt head for a wrench—rotate it in the direction that tightens the belt (usually clockwise).
Before fully reassembling everything, it’s a good idea to perform a quick test. Reconnect the battery and start the engine. Check that the battery warning light turns off and that all electrical accessories are functioning properly.
If everything looks good, turn off the engine and finish reassembling any components you removed to access the alternator.
Testing the New Alternator
Testing the new alternator is a critical step to ensure your hard work has paid off. A proper test will confirm that the alternator is charging the battery correctly and that all electrical systems are functioning as they should. The simplest way to test the alternator is with a multimeter, a tool that measures electrical voltage, current, and resistance.
Start by setting your multimeter to measure DC voltage (usually labeled as “V⎓” or “DCV”). With the engine off, connect the red probe to the positive battery terminal and the black probe to the negative terminal. A fully charged battery should read around 12.6 volts.
If the reading is significantly lower, the battery may need charging or replacement.
Step-by-Step Testing
- Set the multimeter to DC voltage (20V range).
- Test the battery voltage with the engine off (should be ~12.6V).
- Start the engine and let it idle.
- Check the voltage at the battery terminals again. It should now read between 13.8V and 14.4V.
- Rev the engine to around 2,000 RPM and check the voltage again. It should remain stable or increase slightly.
- Turn on electrical accessories (headlights, AC, radio) and check the voltage. It should stay above 13V.
- If the voltage drops below 13V or fluctuates wildly, the alternator may not be functioning correctly.
| Voltage Reading | What It Means |
|---|---|
| 12.6V (engine off) | Battery is fully charged |
| 13.8V – 14.4V (engine running) | Alternator is charging properly |
| Below 13V (engine running) | Alternator is not charging; check connections or unit |
| Above 14.5V (engine running) | Alternator is overcharging; may damage battery |
| Fluctuating wildly | Loose connections or failing alternator |
If your voltage readings are outside the normal range, there may be an issue with the alternator, the battery, or the electrical connections. Double-check that all connections are secure and that the alternator is properly mounted. If the problem persists, the alternator may be defective and need replacement under warranty.
Another way to test the alternator is to visit an auto parts store. Many stores, such as AutoZone or O’Reilly Auto Parts, offer free alternator and battery testing. They can quickly determine if your new alternator is functioning correctly or if there’s an underlying issue with your vehicle’s electrical system.
Common Mistakes to Avoid
Even with the best intentions, it’s easy to make mistakes when replacing an alternator. Being aware of these common pitfalls can save you time, money, and frustration. One of the most frequent mistakes is failing to disconnect the battery before starting work.
This can lead to short circuits, electrical shocks, or damage to sensitive electronics, such as the engine control unit (ECU).
Another common error is not properly tensioning the serpentine belt after installation. A belt that’s too loose can slip, reducing the alternator’s efficiency and causing premature wear. On the other hand, a belt that’s too tight can strain the alternator bearings and other components, leading to early failure.
According to CarCare.org, improper belt tension is responsible for nearly 20% of premature alternator failures.
- Not disconnecting the battery first – Risk of short circuits or electrical damage.
- Using the wrong alternator – Ensure the new unit matches your vehicle’s specifications exactly.
- Over-tightening or under-tightening bolts – Can strip threads or cause the alternator to shift.
- Incorrect serpentine belt routing – Can damage the belt or cause it to come off while driving.
- Ignoring corroded connections – Corrosion can prevent proper electrical contact.
- Forgetting to test the new alternator – Always verify that the alternator is charging the battery correctly.
- Not checking for additional issues – A failing battery or voltage regulator can mimic alternator problems.
Warning: Never attempt to “jump” the alternator to test it while the engine is running. This can cause a dangerous voltage spike that may damage your vehicle’s electrical system.
When to Call a Professional
While replacing an alternator is a manageable task for many DIYers, there are situations where calling a professional is the smarter choice. If you’re unfamiliar with basic car mechanics or don’t have the necessary tools, attempting the job yourself could lead to costly mistakes. Some vehicles, particularly luxury or high-performance models, have alternators that are difficult to access or require specialized tools for removal and installation.
Another scenario where professional help is advisable is if you’ve attempted the replacement but are still experiencing electrical issues. This could indicate a problem with the battery, voltage regulator, or another component in the charging system. A professional mechanic has the diagnostic tools and experience to pinpoint the exact issue and ensure it’s resolved correctly.
Signs You Should Seek Professional Help
- You lack basic mechanical skills or tools.
- Your vehicle has a complex engine layout (e.g., some European or hybrid models).
- You’ve attempted the replacement but the problem persists.
- The alternator is in a hard-to-reach location (e.g., under the vehicle or behind other components).
- You’re unsure about the electrical connections or wiring.
- Your vehicle has a sensitive electrical system that could be damaged by improper handling.
| DIY vs. Professional | Pros | Cons |
|---|---|---|
| DIY Replacement | Saves money, satisfying, learn new skills | Time-consuming, risk of mistakes, voids warranty if done incorrectly |
| Professional Replacement | Fast, expert work, warranty protection | More expensive, may require scheduling |
Leave a Reply